
Winter Holiday Mail: How to Stand Out This Season
Posted by Affordable Address Labels on Dec 2nd 2019
Holiday mail competes with full mailboxes, busy calendars, and dozens of familiar red-and-green designs. Standing out does not require glitter or complicated packaging; it requires a clear visual idea and a message that feels personal.
A strong winter mailing uses coordinated color, readable addressing, thoughtful timing, and one memorable detail instead of several competing decorations. The following steps focus on real use, clear communication, and a result that can be maintained instead of looking good only on the day it is created.
Choose a winter theme beyond the obvious
Consider evergreen, snowy neutrals, deep blue, cranberry, kraft, or metallic accents. This is the foundation of this part of the system because it keeps the purpose clear before design or quantity decisions are made. Next, select imagery that fits the sender, such as woodland branches, stars, cabins, or simple typography. Next, avoid using every holiday symbol at once. Next, carry the same visual direction from the card to the envelope. This approach works because it makes the next action obvious and removes the need to reinterpret the system each time.
Make the address area part of the design
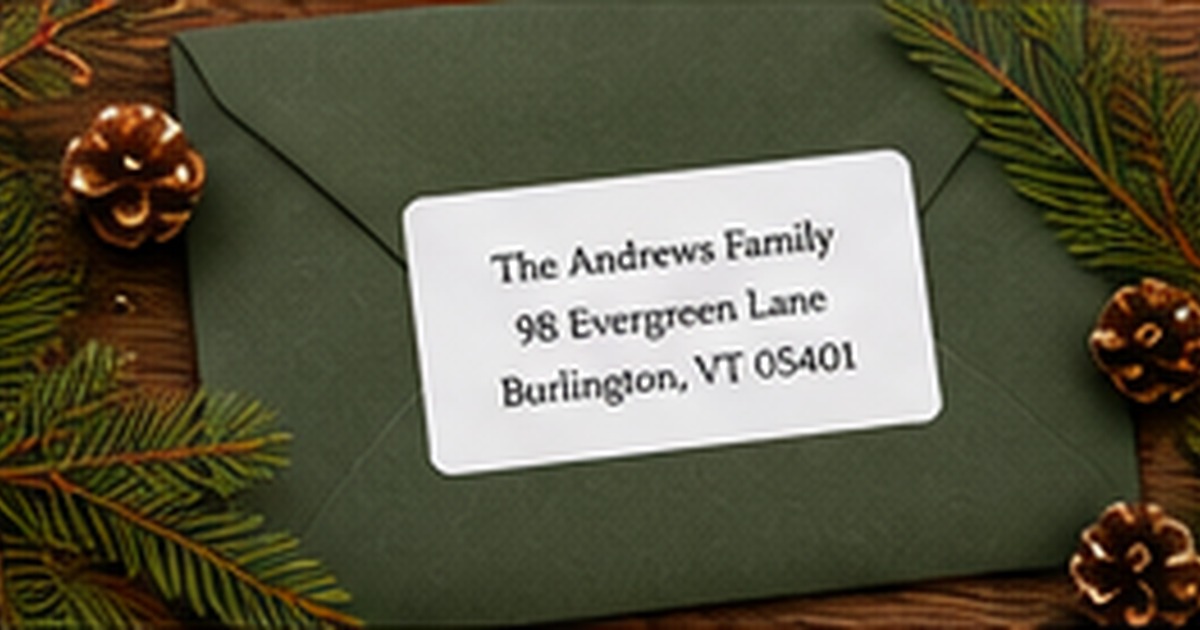
A useful starting point is to use a return label or stamp that coordinates with the card. That choice creates a clear rule that can be repeated across the entire project. Next, keep the recipient address easy to read against the envelope color. Next, leave clear space around postage and postal markings. Next, test dark and textured envelopes before assembling the entire batch. Before ordering or applying the full quantity, test one real example under the same conditions in which it will be used.
Write a message people will remember
The most dependable method is to add a short family update, specific wish, or sentence of gratitude. It reduces exceptions and makes the finished result easier to understand at a glance. Next, avoid copying a generic paragraph that could belong to anyone. Next, keep the message short enough to read comfortably. Next, sign in a way that reflects the actual household. Consistency matters more than complexity: a modest system followed every time is more useful than an elaborate one that people avoid.
Use one special finishing detail
Begin by planning to choose a coordinated seal, unusual stamp, colored envelope, or printed liner. Once that decision is settled, the remaining design and organization choices become much easier. Next, apply the detail consistently rather than adding several different embellishments. Next, make sure the envelope still closes and travels safely. Next, reserve delicate pieces for hand-delivered cards. The final check should be practical rather than purely visual, including readability, placement, durability, and ease of replacement.
Mail on a schedule that reduces stress
For this step, it helps to update addresses before ordering quantities. The goal is a repeatable result, not a one-time arrangement that is difficult to maintain. Next, assemble cards in stages. Next, buy postage early. Next, choose a send date and work backward for writing, labeling, and final checks. Document the decision in a saved proof, sample, or short note so future reorders and updates do not start from zero.
Quick checklist
- Consider evergreen, snowy neutrals, deep blue, cranberry, kraft, or metallic accents
- Use a return label or stamp that coordinates with the card
- Add a short family update, specific wish, or sentence of gratitude
- Choose a coordinated seal, unusual stamp, colored envelope, or printed liner
- Update addresses before ordering quantities
Frequently asked questions
Do holiday cards need to arrive before Christmas?
No. Winter greetings can be sent throughout the holiday season and even into the New Year.
Can dark envelopes be mailed safely?
Yes when the addressing has strong contrast and follows postal requirements.
What is the easiest way to make a card feel personal?
Include one specific sentence about the recipient, the year, or a shared memory.
Put the plan into practice
A clear system makes the project easier to complete and easier to repeat. Review one full-size sample, correct any wording or spacing issues, and keep the final details for future use. Explore greeting cards and personalized address labels to coordinate the practical pieces with the look you want.
A practical review before you finish
Set the completed piece beside the materials it will actually accompany and review it from the recipient’s point of view. Confirm that the main information is visible immediately, that decorative details do not interfere with reading, and that the design still works on the smallest or darkest item in the project. Check spelling, addresses, dates, and quantities against the source list rather than memory. Finally, prepare one complete sample from beginning to end. That sample often reveals placement, handling, or storage issues that are not obvious on a screen and gives everyone involved a reliable model to follow.