
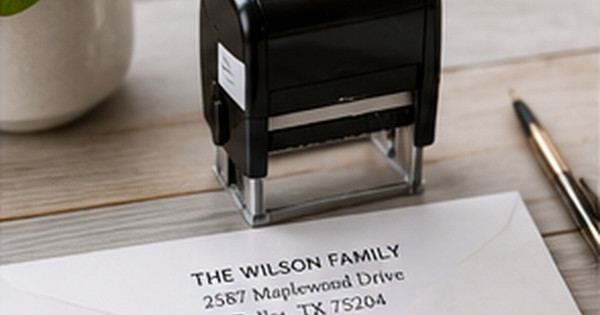
Self-Inking vs. Pre-Inked Stamps: What's the Difference?
Posted by Affordable Address Labels on Feb 10th 2018
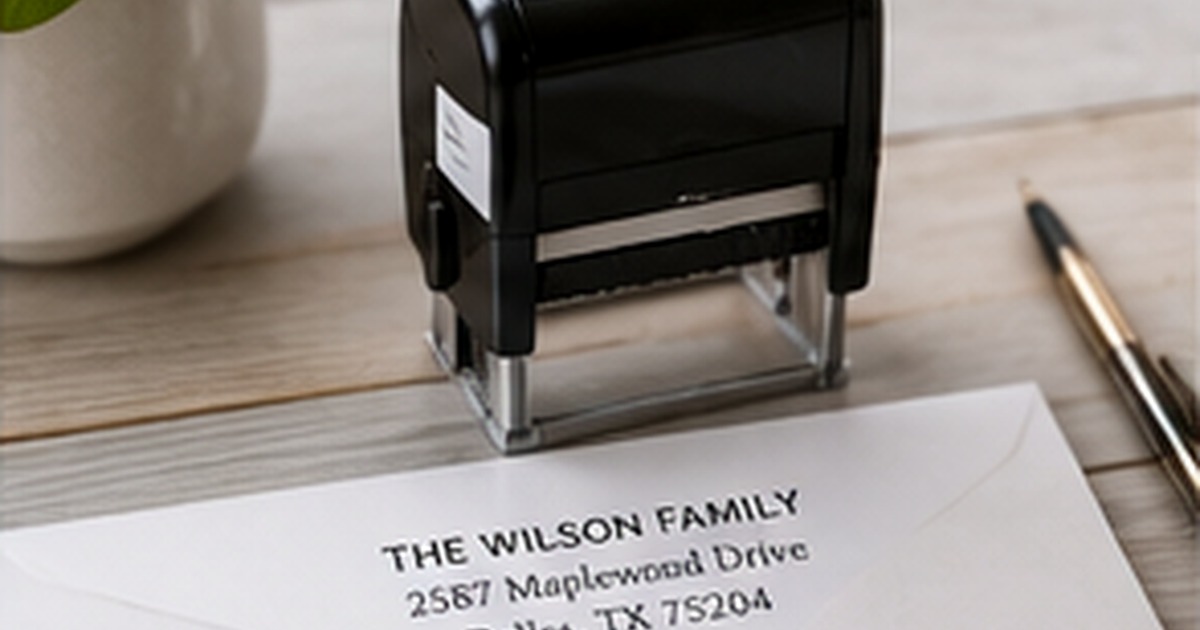
Self-inking and pre-inked stamps solve the same basic problem: they put a repeatable address, name, or business message on paper without requiring a separate ink pad. The two mechanisms feel different in daily use, however, and that difference matters when you are ordering a stamp for envelopes, invoices, packaging, or a busy front desk.
The best choice is not automatically the most expensive model. It is the stamp that matches your expected volume, preferred impression style, storage habits, and tolerance for occasional maintenance. Understanding how each design works makes it easier to choose once and use it confidently for years.
How a self-inking stamp works
A self-inking stamp has a rubber die mounted inside a housing with a built-in ink pad. Each time you press the handle, the die rotates down to the paper and then returns to rest against the pad. The movement is quick and familiar, which is why self-inking models are common in offices, shipping rooms, classrooms, and homes.
Because the pad is replaceable or re-inkable, maintenance is straightforward. The housing also helps keep the inked surface away from hands and desk drawers. For repetitive tasks, the spring-loaded action creates a consistent rhythm and makes it easy to stamp dozens of envelopes without stopping to re-ink after every impression.
How a pre-inked stamp works
A pre-inked stamp stores ink within the impression material itself. Rather than rotating onto a separate pad, the stamp surface transfers ink directly to the paper when pressure is applied. This construction can produce very crisp fine lines and solid areas, especially in compact logos, detailed monograms, and small address layouts.
Pre-inked models are usually quiet and require only a gentle press. They can make many impressions before needing more ink, but the correct refill ink is important. Using the wrong formula may damage the stamp material or create uneven results, so the refill instructions should be saved with the order information.
Compare speed, detail, and everyday feel
For high-speed repetitive use, many people prefer the spring action of a self-inking model. It is easy to position, press, and move to the next envelope. Pre-inked stamps tend to feel smoother and can reward a slower, even press with a sharply defined impression.
Design detail is only one part of the decision. A simple three-line return address works well in either format. Very small lettering, thin borders, or intricate logos may benefit from a pre-inked construction, while larger practical layouts are often ideal for self-inking models. Always judge the proof at actual size rather than from an enlarged screen preview.
Choose by task, not by label
A household sending occasional cards may value compact storage and clean operation. An online seller stamping outgoing mailers may care more about speed, replacement pads, and a housing that survives daily handling. A wedding planner may prioritize a refined impression for guest correspondence, while a real estate office may need several stamps with different agent names or branch addresses.
Think about paper texture too. Smooth envelopes usually produce the cleanest result. Coated, heavily textured, or absorbent papers can change how ink spreads. Testing the finished stamp on the exact envelope or label stock is the quickest way to establish the right pressure and drying time.
Test the tool before making it part of the routine
When the finished stamp arrives, make ten impressions on scrap paper before using it on important mail. This reveals the pressure, placement, and drying time that produce the cleanest result. Keep one successful impression with the order record so future users know what normal quality looks like.
Revisit the setup after the first month. If the stamp is frequently misplaced, difficult to align, or used on a surface that does not accept ink well, adjust the storage location or pair it with adhesive labels. A practical system may use both tools rather than asking one product to handle every surface.
Quick checklist
- Estimate impressions per week
- Choose the maximum imprint size before designing
- Keep the address readable at actual size
- Confirm the correct refill ink or replacement pad
- Test on the final envelope or package material
- Store the stamp upright and away from heat
Frequently asked questions
Which type lasts longer?
Both can provide long service when correctly re-inked and stored. Longevity depends more on construction quality, volume, and proper refill products than on the category name alone.
Which stamp is less messy?
Both are cleaner than a traditional hand stamp and separate pad. A self-inking housing protects the die between uses, while a pre-inked model has no exposed pad to replace.
Can either one include a logo?
Yes, provided the logo remains clear at the chosen size. Simplified artwork usually stamps more reliably than very fine shading or tiny reversed text.
Pick the mechanism that fits your routine
A good address stamp should disappear into the workflow: position, press, and move on. Compare impression size, refill method, volume, and design detail before ordering. Browse personalized rubber stamps and pair the final design with matching address labels for surfaces where an adhesive label works better than ink.