
Self-Inking Address Stamps: Size, Ink, and Layout Guide
Posted by Affordable Address Labels on Jul 21st 2018
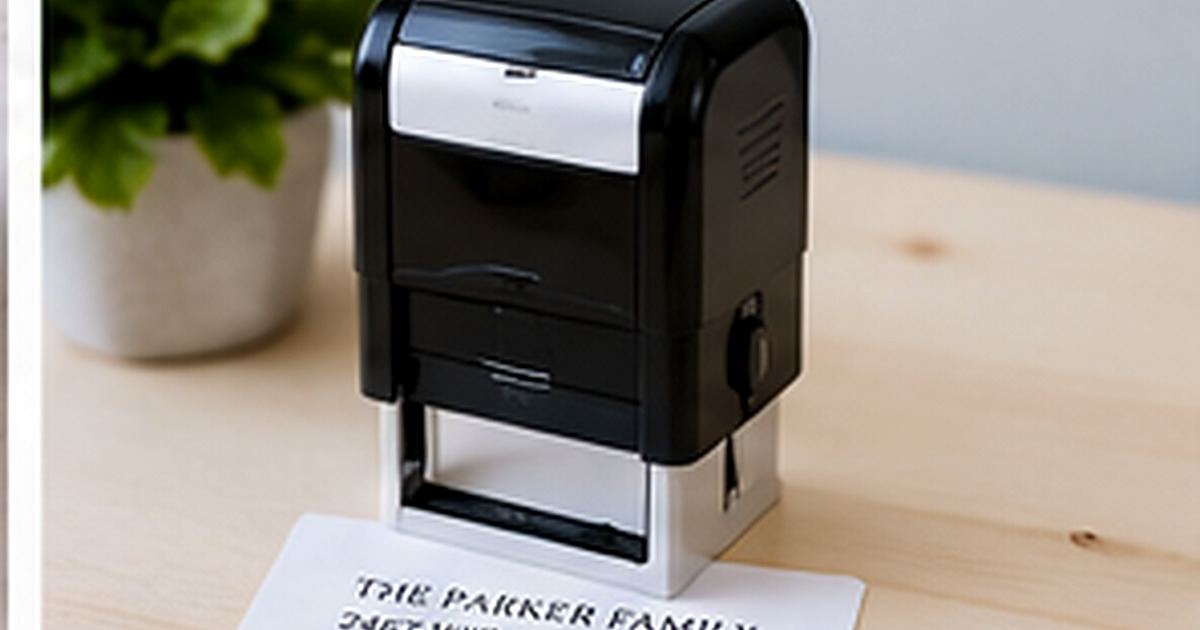
A self-inking address stamp can handle hundreds of envelopes with a quick, consistent impression, but the quality of that impression begins with the layout. A stamp that is too small can crowd a long address; one that is unnecessarily large may overpower a standard envelope.
Before choosing a style, look at the surfaces you stamp most often. Standard white envelopes, kraft mailers, glossy packaging, and textured papers behave differently. Matching the stamp size, ink, and type to those materials produces a cleaner result and a tool you will actually use.
Match the impression size to the envelope
Most personal return addresses fit comfortably in a compact rectangular area, but long family names, apartment lines, and business names need extra width or height. Measure the top-left corner of your most common envelope and leave breathing room around the planned impression.
For packages, a slightly larger stamp can improve visibility. However, do not assume one oversized stamp is ideal for every purpose. If you switch frequently between small greeting-card envelopes and shipping boxes, separate personal and business stamps may be more practical.
Build a readable line hierarchy
The name or business line can carry the personality, while the street, city, state, and ZIP should remain easy to scan. Keep decorative scripts away from small all-capital address lines. If a design includes an icon or monogram, make sure it does not reduce the usable type size.
Review the proof at actual size, not only enlarged on a screen. A layout that looks spacious at 200 percent zoom may feel cramped when the impression is one or two inches wide.
Choose ink for the paper you use
Black is the most versatile color and provides strong contrast on white, cream, and kraft paper. Navy, dark green, or burgundy can add personality while remaining readable. Very light inks may disappear on recycled or textured envelopes.
Standard self-inking ink is designed for absorbent paper. Coated, glossy, plastic, or highly nonporous surfaces may require a specialty ink or a different marking method. Test before stamping a full mailing, and allow extra drying time when the surface is smooth.
Plan for maintenance and re-inking
Store the stamp closed and away from heat. When impressions begin to look pale rather than uneven, use the ink specified for the model and add only the recommended amount. Too much ink can flood fine lines and create blotchy impressions.
Clean paper dust from the rubber plate gently with a slightly damp, lint-free cloth. Avoid sharp tools and household solvents, which can damage the impression surface.
Before approving a self-inking stamp
- Measure the target envelope area
- Confirm every address line
- View the proof at actual size
- Choose high-contrast ink
- Check paper compatibility
- Save the stamp model and ink type
Review the design in the context where it will be used
Place a printed sample of the self-inking address stamp guide on the actual envelope, card, container, or package. Scale, color, and spacing can feel very different on a real object than they do in an enlarged online preview. The surrounding materials should support the design rather than compete with it.
Read every personalized line aloud and compare the address against a trusted source. Check names, abbreviations, apartment numbers, ZIP codes, and punctuation. When two people share the proofing task, one can read the original information while the other checks the final design line by line.
Finally, decide how the item will be stored and reordered. Save the design name, product number, quantity, and order date. That information turns a successful first purchase into a dependable part of the household stationery routine.
Common mistakes to avoid
- Choosing style before confirming the wording
- Reducing type until a long line barely fits
- Using too many fonts or decorative elements
- Ignoring the color of the final envelope or surface
- Ordering a large quantity before testing one sample
A careful proof and a small real-world test prevent most of these problems. Make the design attractive, but let accuracy, readability, and ease of use guide the final decision.
Frequently asked questions
How long does a self-inking address stamp last?
The mechanism can last for many years with normal care. The ink pad will need re-inking or replacement based on frequency of use and storage conditions.
Can a self-inking stamp work on glossy envelopes?
Standard ink may smear or fail to dry. Test first and use a compatible specialty ink or label when the surface is nonporous.
What color is safest for postal mail?
Black is the most universally readable choice. Dark navy and other deep colors can also work when they contrast clearly with the envelope.
Should the ZIP code be on its own line?
It can share the city and state line when space allows. The priority is a clear, uncluttered address block.
Build a stationery system that fits real life
The best personalized paper goods are the ones you reach for often. Choose clear, accurate designs, store them where correspondence happens, and reorder before a holiday or event creates a rush. Explore personalized address labels, rubber stamps, and greeting cards to create a practical set for home, celebrations, or business mail.