
Return Address Labels for Large Mailing Lists: A Batch Workflow
Posted by Affordable Address Labels on Jan 24th 2022
Large mailings become stressful when every envelope is handled from start to finish one at a time. A batch workflow separates the job into repeatable stages, which improves speed and reduces omissions.
Return address labels are one of the easiest stages to standardize. When the labels, recipient list, envelopes, and postage are prepared in the right order, the mailing becomes much easier to audit.
Clean the recipient list before touching envelopes
Remove duplicates, verify household groupings, and flag incomplete addresses first. Print or export a numbered list that can be checked as pieces are assembled. Corrections made after sealing create avoidable waste.
Prepare return labels as one controlled batch
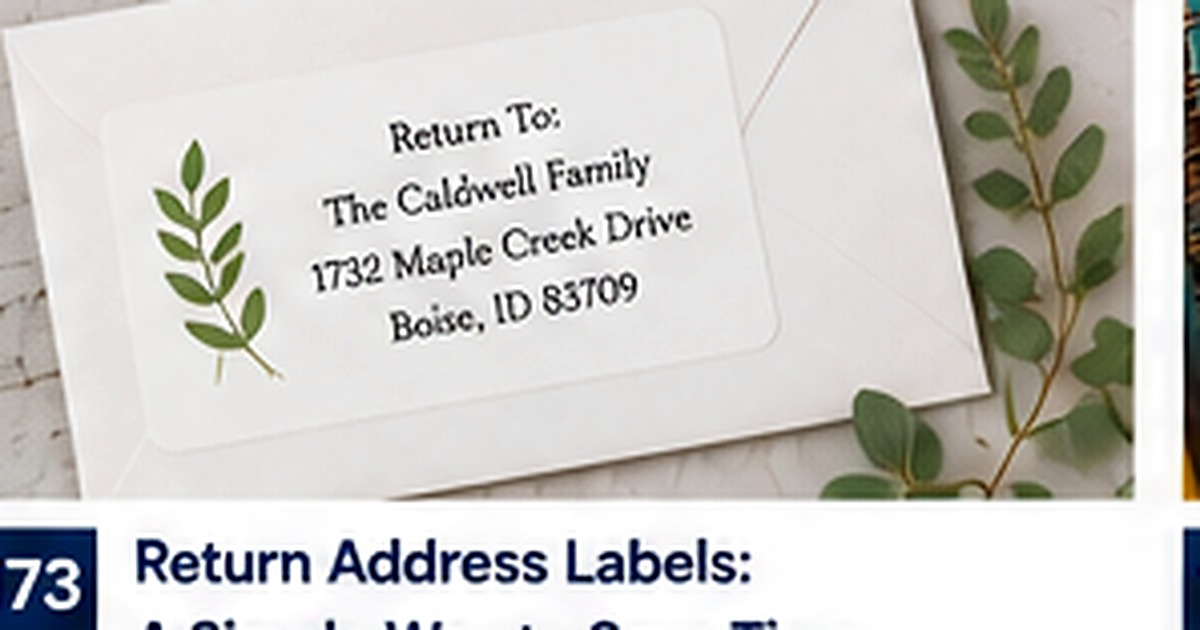
Count labels, inspect print quality, and apply them in the same position on every envelope. Stop if alignment or adhesion looks inconsistent. Completing this stage first gives every piece a clear sender identity.
Address recipients in a separate pass
Use printed recipient labels, handwriting, or calligraphy after the return labels are complete. Work in list order and mark each household as finished. Keep questionable addresses in a separate review pile instead of guessing.
Insert, seal, and weigh representative samples
Before sealing the entire batch, assemble several complete pieces and confirm fit, postage, and envelope closure. Different enclosures can change thickness or weight. Once the sample passes, complete the remaining pieces in groups.
Finish with a count and exception review
Compare completed envelopes with the master list, count unused supplies, and resolve the review pile. A final check catches missing households and double mailings before the pieces leave the house.
Common label mistakes to avoid
The most common problems with large mailing list address labels workflow come from choosing appearance before function. Text is reduced until it is difficult to read, decorative elements compete with the address, or a label is ordered without testing the longest name and darkest envelope. Another mistake is ordering a large quantity before the wording and location are stable. Use an actual-size proof and judge the label in the setting where it will be used, not only as an enlarged image on a screen.
Test the design on real materials
Apply a sample to the smallest envelope, darkest paper, or most textured surface in the planned set. Complete the piece with recipient addressing and postage so spacing can be evaluated honestly. Ask another person to read the name and address without help. Clean and number the recipient list should be obvious at normal viewing distance. Testing one finished piece is inexpensive compared with discovering the problem after every envelope has been assembled.
Review quantity, storage, and future use
Labels remain useful only when the information stays accurate and the sheets are stored well. Keep them flat, dry, and grouped with the related stationery. Review the remaining quantity before each major mailing and remove outdated versions. Apply return labels in one pass provides a practical standard for deciding whether to reorder, revise the design, or use a smaller temporary supply. A well-managed label system saves more time than an oversized collection of nearly correct options.
Document the version that works
Once the large mailing list address labels workflow setup has been tested, save the exact wording, dimensions, image choice, order date, and quantity in a simple household or business file. Include a photograph of the finished piece and note any changes you would make next time. This record shortens future proofing, prevents old addresses or names from returning, and makes reordering easier for another family member or employee. Good documentation turns a one-time stationery decision into a dependable repeatable process.
Quick checklist
- Clean and number the recipient list
- Apply return labels in one pass
- Separate questionable addresses for review
- Count completed pieces against the master list
Frequently asked questions
What is the best batch size?
Groups of twenty-five to fifty are manageable for most home projects and make errors easier to locate.
Should envelopes be sealed before postage is checked?
Test complete samples first, especially when inserts vary in weight or thickness.
How can duplicates be prevented?
Use one numbered master list and mark each household only after its envelope is completed.
Put the system into practice
A clear plan makes stationery easier to use and easier to reorder. Review the wording at actual size, choose a realistic quantity, and explore personalized address labels and greeting cards that fit the way the household or business actually communicates.