
Pre-Inked vs Self-Inking Stamps: Which Is Right for You?
Posted by Affordable Address Labels on Nov 29th 2022
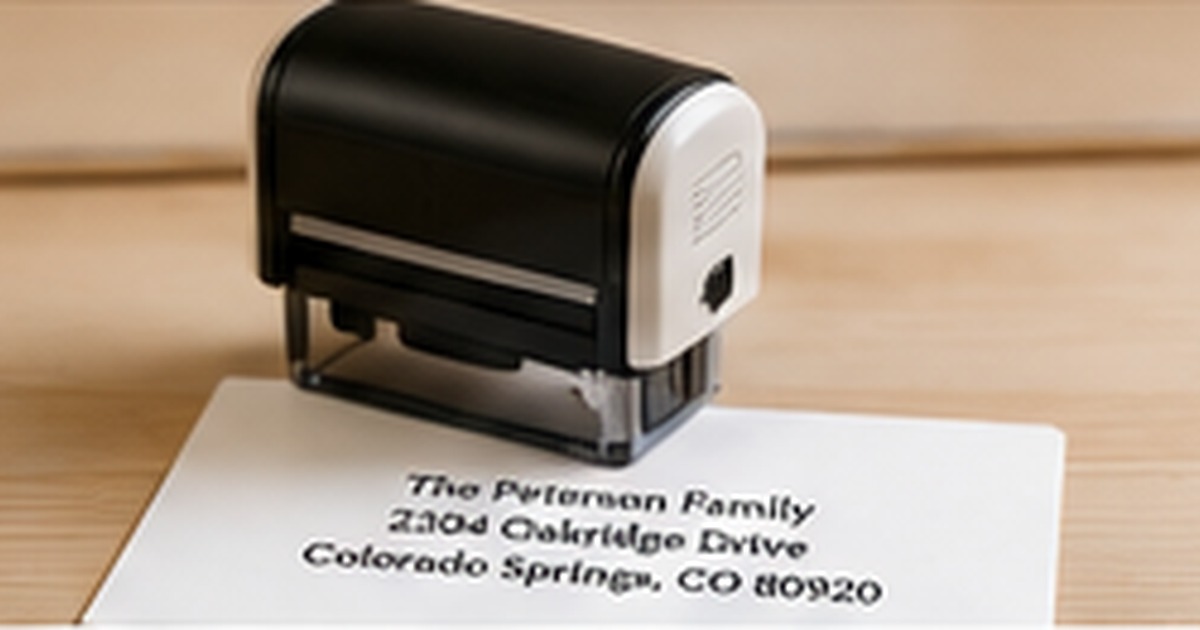
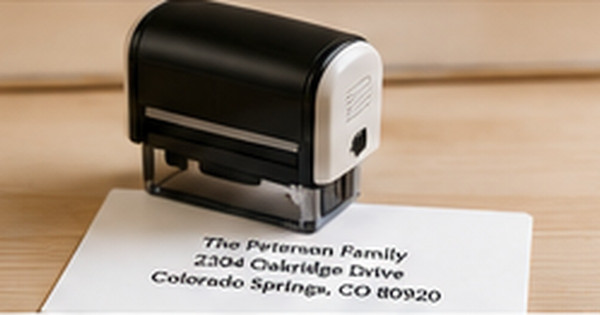
Pre-inked and self-inking stamps both create repeated impressions without a separate ink pad, but the mechanisms feel different in daily use. The better choice depends on impression quality, speed, storage, and expected volume.
Compare the tools based on the work they will actually perform rather than assuming one construction is universally superior. The following steps focus on real use, clear communication, and a result that can be maintained instead of looking good only on the day it is created.
Understand the mechanism
A self-inking stamp rotates the die into an internal pad between impressions. This is the foundation of this part of the system because it keeps the purpose clear before design or quantity decisions are made. Next, a pre-inked stamp stores ink within the die material. Next, both reduce desk clutter compared with a separate pad. Next, the mechanism affects feel, refill method, and impression recovery. This approach works because it makes the next action obvious and removes the need to reinterpret the system each time.
Compare impression detail
A useful starting point is to pre-inked models often produce very crisp fine lines when maintained properly. That choice creates a clear rule that can be repeated across the entire project. Next, self-inking models are dependable for bold text and routine office use. Next, simplify highly detailed artwork at small sizes. Next, request a proof that reflects the actual impression dimensions. Before ordering or applying the full quantity, test one real example under the same conditions in which it will be used.
Consider speed and volume
The most dependable method is to self-inking mechanisms are familiar and efficient for repeated desk work. It reduces exceptions and makes the finished result easier to understand at a glance. Next, pre-inked stamps can handle many impressions but may need a brief recovery during very rapid use. Next, estimate daily or seasonal volume. Next, choose a comfortable housing for the number of impressions expected. Consistency matters more than complexity: a modest system followed every time is more useful than an elaborate one that people avoid.
Review refill and replacement needs
Begin by planning to use the ink specified for the stamp type. Once that decision is settled, the remaining design and organization choices become much easier. Next, do not mix formulas because they can damage the die or pad. Next, keep refill instructions with office supplies. Next, replace worn components when impressions remain uneven after maintenance. The final check should be practical rather than purely visual, including readability, placement, durability, and ease of replacement.
Match the stamp to storage and travel
For this step, it helps to self-inking housings can be bulkier but stable on a desk. The goal is a repeatable result, not a one-time arrangement that is difficult to maintain. Next, pre-inked stamps may offer compact options. Next, use locking mechanisms or cases during transport. Next, store either type away from heat and direct sunlight. Document the decision in a saved proof, sample, or short note so future reorders and updates do not start from zero.
Quick checklist
- A self-inking stamp rotates the die into an internal pad between impressions
- Pre-inked models often produce very crisp fine lines when maintained properly
- Self-inking mechanisms are familiar and efficient for repeated desk work
- Use the ink specified for the stamp type
- Self-inking housings can be bulkier but stable on a desk
Frequently asked questions
Which type gives the sharpest address impression?
Both can be sharp. Pre-inked models often excel at fine detail, while self-inking models perform very well with clean text and simple artwork.
Which is easier to re-ink?
Ease depends on the model. Follow the manufacturer’s instructions and use the correct ink formula.
Which is better for occasional home use?
Either can work. Choose based on preferred feel, size, design detail, and available storage space.
Put the plan into practice
A clear system makes the project easier to complete and easier to repeat. Review one full-size sample, correct any wording or spacing issues, and keep the final details for future use. Explore address stamps to coordinate the practical pieces with the look you want.
A practical review before you finish
Set the completed piece beside the materials it will actually accompany and review it from the recipient’s point of view. Confirm that the main information is visible immediately, that decorative details do not interfere with reading, and that the design still works on the smallest or darkest item in the project. Check spelling, addresses, dates, and quantities against the source list rather than memory. Finally, prepare one complete sample from beginning to end. That sample often reveals placement, handling, or storage issues that are not obvious on a screen and gives everyone involved a reliable model to follow.