
Packaging and Shipping with Branded Labels: A Small-Business Guide
Posted by Affordable Address Labels on Jan 26th 2021
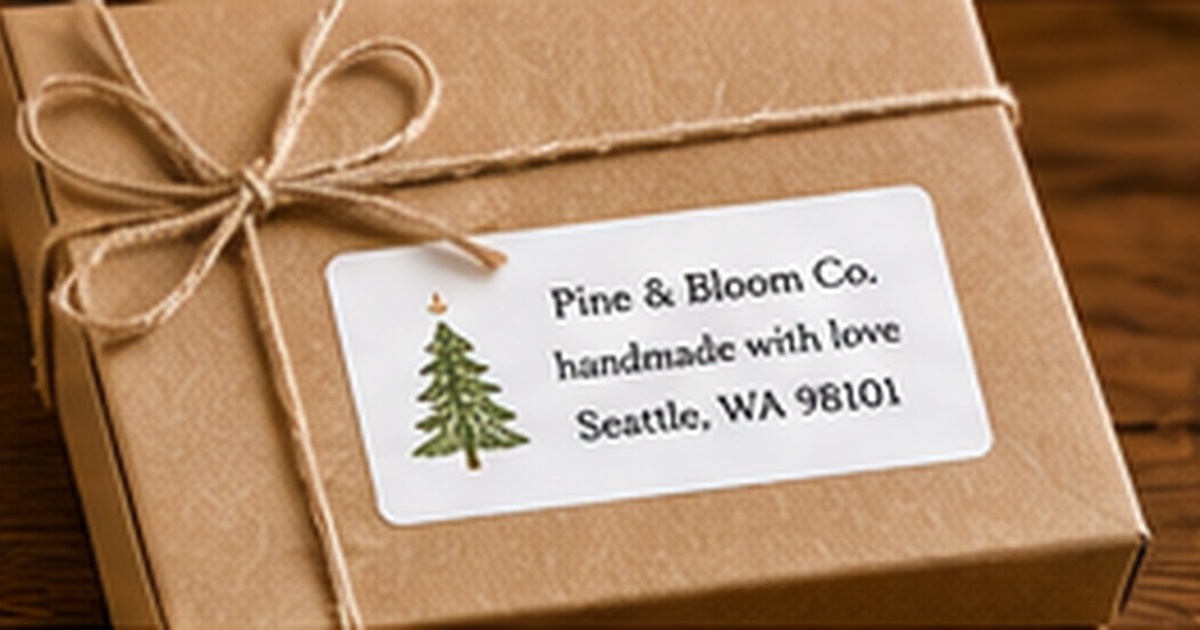
Branded labels help a small business turn ordinary boxes, envelopes, and tissue into a recognizable customer experience. The goal is not to cover every surface with a logo; it is to make each package look consistent, trustworthy, and intentionally prepared.
Separate delivery information from brand storytelling, then create a repeatable label system that employees can apply quickly and correctly. The following steps focus on real use, clear communication, and a result that can be maintained instead of looking good only on the day it is created.
Assign a clear job to every label
Use the carrier label for shipping data. This is the foundation of this part of the system because it keeps the purpose clear before design or quantity decisions are made. Next, use a return label for the sender address. Next, use a smaller branded seal for tissue or inserts. Next, avoid combining essential barcodes with decorative information. This approach works because it makes the next action obvious and removes the need to reinterpret the system each time.
Create a simple visual system
A useful starting point is to choose one logo treatment, one type family, and a limited color palette. That choice creates a clear rule that can be repeated across the entire project. Next, repeat the same hierarchy across boxes and mailers. Next, keep small text to a minimum. Next, make the brand recognizable even when the package size changes. Before ordering or applying the full quantity, test one real example under the same conditions in which it will be used.
Design for real packing conditions
The most dependable method is to test adhesion on corrugated boxes, paper mailers, and coated surfaces. It reduces exceptions and makes the finished result easier to understand at a glance. Next, apply labels to clean, dry areas. Next, avoid box seams and edges that may lift. Next, choose a size that employees can position consistently. Consistency matters more than complexity: a modest system followed every time is more useful than an elaborate one that people avoid.
Use labels to improve internal workflow
Begin by planning to mark product variants, gift orders, fragile items, and packing status when needed. Once that decision is settled, the remaining design and organization choices become much easier. Next, keep operational labels visually distinct from customer-facing labels. Next, organize rolls and sheets by task. Next, document placement rules with a sample package. The final check should be practical rather than purely visual, including readability, placement, durability, and ease of replacement.
Review cost and waste
For this step, it helps to order quantities based on actual shipping volume. The goal is a repeatable result, not a one-time arrangement that is difficult to maintain. Next, use a flexible core design instead of replacing labels for every promotion. Next, track damaged or discarded stock. Next, update addresses and compliance text before reordering. Document the decision in a saved proof, sample, or short note so future reorders and updates do not start from zero.
Quick checklist
- Use the carrier label for shipping data
- Choose one logo treatment, one type family, and a limited color palette
- Test adhesion on corrugated boxes, paper mailers, and coated surfaces
- Mark product variants, gift orders, fragile items, and packing status when needed
- Order quantities based on actual shipping volume
Frequently asked questions
Should the shipping label include the company logo?
It can, but delivery information and barcodes must remain clear and compatible with the carrier format.
Where should a branded seal be placed?
Common locations include tissue paper, box interiors, thank-you cards, and product wraps.
Do small businesses need multiple label types?
Often yes. Separating shipping, return-address, product, and decorative labels creates a cleaner system.
Put the plan into practice
A clear system makes the project easier to complete and easier to repeat. Review one full-size sample, correct any wording or spacing issues, and keep the final details for future use. Explore custom labels to coordinate the practical pieces with the look you want.
A practical review before you finish
Set the completed piece beside the materials it will actually accompany and review it from the recipient’s point of view. Confirm that the main information is visible immediately, that decorative details do not interfere with reading, and that the design still works on the smallest or darkest item in the project. Check spelling, addresses, dates, and quantities against the source list rather than memory. Finally, prepare one complete sample from beginning to end. That sample often reveals placement, handling, or storage issues that are not obvious on a screen and gives everyone involved a reliable model to follow.