
Kitchen Labels That Make Meal Prep Easier
Posted by Affordable Address Labels on Oct 31st 2021
Kitchen labels are most valuable when they reduce decisions during cooking, shopping, and cleanup. A beautiful pantry is useful, but a label system that shows contents, dates, and meal purpose can make everyday meal preparation noticeably faster.
Label only the information that helps the household act: what the item is, when it was prepared or opened, and where it belongs. The following steps focus on real use, clear communication, and a result that can be maintained instead of looking good only on the day it is created.
Label staples for quick identification
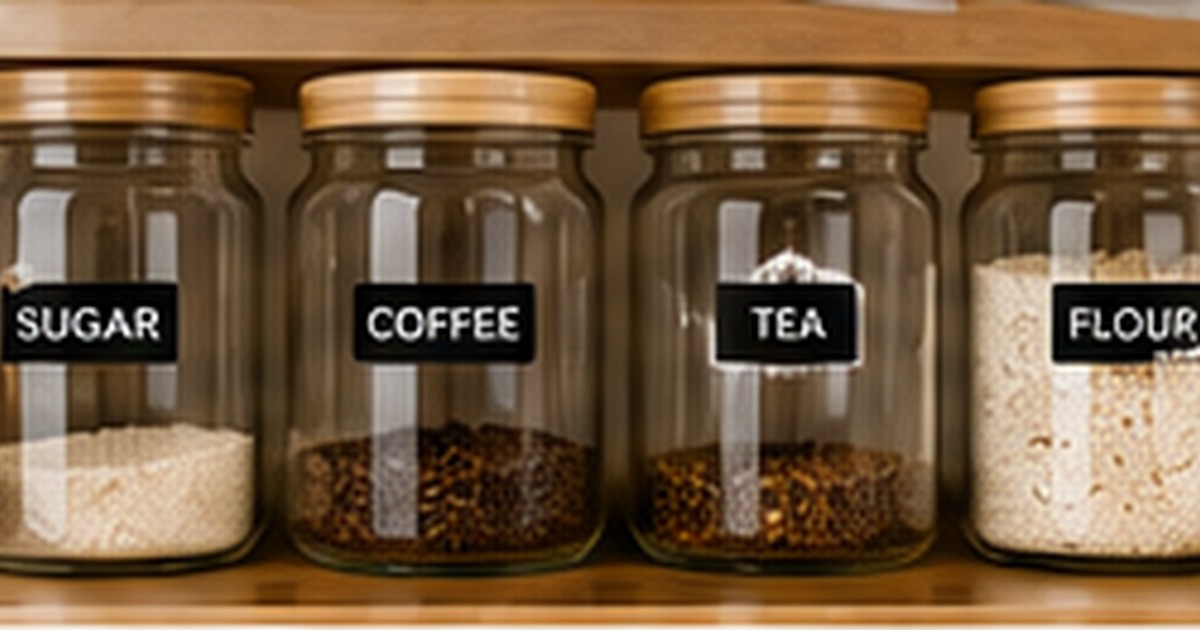
Use clear names on flour, sugars, grains, pasta, coffee, tea, and baking ingredients. This is the foundation of this part of the system because it keeps the purpose clear before design or quantity decisions are made. Next, avoid decorative fonts that are difficult to scan. Next, place labels at the same height on similar containers. Next, include variety names when several products look alike. This approach works because it makes the next action obvious and removes the need to reinterpret the system each time.
Add dates where freshness matters
A useful starting point is to mark prepared meals, leftovers, sauces, and opened ingredients with a date. That choice creates a clear rule that can be repeated across the entire project. Next, choose removable labels for containers that change frequently. Next, use one date format across the kitchen. Next, remove old adhesive before relabeling. Before ordering or applying the full quantity, test one real example under the same conditions in which it will be used.
Create meal-prep categories
The most dependable method is to label bins for breakfast, lunches, snacks, freezer meals, or recipe kits. It reduces exceptions and makes the finished result easier to understand at a glance. Next, group ingredients by the way they are used. Next, avoid creating categories that are too narrow. Next, review the layout after a normal week of cooking. Consistency matters more than complexity: a modest system followed every time is more useful than an elaborate one that people avoid.
Match the label to the surface
Begin by planning to use water-resistant options for refrigerated and frequently wiped containers. Once that decision is settled, the remaining design and organization choices become much easier. Next, choose removable paper labels for temporary storage. Next, test adhesion on glass, plastic, and textured lids. Next, avoid placing labels where condensation collects. The final check should be practical rather than purely visual, including readability, placement, durability, and ease of replacement.
Keep the system easy for everyone
For this step, it helps to use language that children and guests understand. The goal is a repeatable result, not a one-time arrangement that is difficult to maintain. Next, store spare labels and a pen in the kitchen. Next, agree on where new groceries and leftovers belong. Next, simplify any category that the household repeatedly ignores. Document the decision in a saved proof, sample, or short note so future reorders and updates do not start from zero.
Quick checklist
- Use clear names on flour, sugars, grains, pasta, coffee, tea, and baking ingredients
- Mark prepared meals, leftovers, sauces, and opened ingredients with a date
- Label bins for breakfast, lunches, snacks, freezer meals, or recipe kits
- Use water-resistant options for refrigerated and frequently wiped containers
- Use language that children and guests understand
Frequently asked questions
Should every pantry container be labeled?
No. Label items that are difficult to identify, frequently refilled, or important to the household routine.
What information belongs on meal-prep containers?
The dish name, preparation date, and any important reheating or dietary note are usually enough.
Are decorative pantry labels practical?
They can be, provided the wording remains readable and the material suits cleaning and refilling habits.
Put the plan into practice
A clear system makes the project easier to complete and easier to repeat. Review one full-size sample, correct any wording or spacing issues, and keep the final details for future use. Explore custom labels to coordinate the practical pieces with the look you want.
A practical review before you finish
Set the completed piece beside the materials it will actually accompany and review it from the recipient’s point of view. Confirm that the main information is visible immediately, that decorative details do not interfere with reading, and that the design still works on the smallest or darkest item in the project. Check spelling, addresses, dates, and quantities against the source list rather than memory. Finally, prepare one complete sample from beginning to end. That sample often reveals placement, handling, or storage issues that are not obvious on a screen and gives everyone involved a reliable model to follow.