
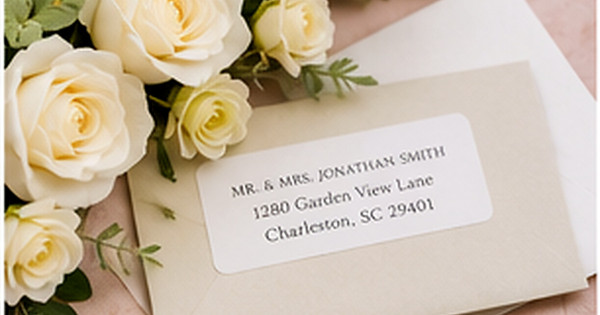
How to Format Return Addresses on Wedding Invitation Envelopes
Posted by Affordable Address Labels on Jul 10th 2025
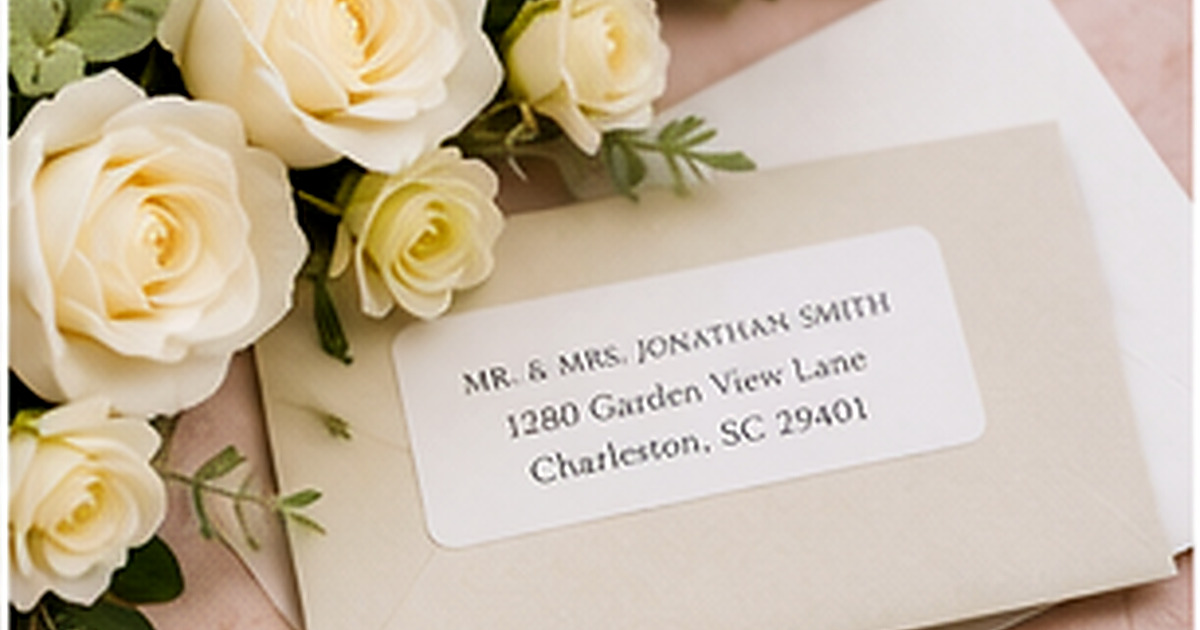
The return address on a wedding invitation has two jobs: it helps undeliverable mail find its way back, and it quietly supports the tone of the invitation suite. Because the space is small, decisions about names, titles, abbreviations, and typography can feel more complicated than expected.
There is no single wording that fits every couple or family. The best format is accurate, readable, and consistent with the people hosting the event. Modern couples can follow the spirit of traditional etiquette without forcing language that does not reflect their household.
Decide whose address and names to use
Use the address where returned invitations can be received and monitored during the mailing period. This may be the couple’s home, a parent’s home, or another host’s address. Choose one location for the outer envelopes and keep the same format throughout the mailing.
Names are optional from a postal standpoint. A formal suite might list the hosts’ names; a minimalist label may use only the street address. Couples who share a last name may use “The Bennett Family” or both first names. Couples with different last names can list both names in the order that feels natural to them.
Match formality without sacrificing clarity
Traditional invitations often spell out street types, state names, and house numbers under twenty. Contemporary invitations commonly use standard postal abbreviations. Either approach can work as long as the return address is legible and the format is consistent across the suite.
A small script line can be elegant for names, but keep the address lines in a simple typeface. Very ornate lettering, extreme letter spacing, or pale ink can reduce readability once the label is printed at actual size.
Coordinate the outer and response envelopes
The outer envelope return address usually belongs in the upper-left corner or on the back flap, depending on the design and postal requirements. Response envelopes should be pre-addressed to the person tracking replies and include the correct return destination even if it differs from the invitation mailing address.
If labels are used on both envelopes, consider a simpler version for the response envelope. The goal is to make replying effortless, not to repeat every decorative detail from the invitation suite.
Proof the complete mailing system
Print or assemble one complete sample: invitation, inserts, outer envelope, response envelope, labels, and postage. This exposes scale problems that are hard to see in separate online proofs. Check whether the flap label interferes with sealing and whether dark envelopes provide enough contrast.
Mail a test invitation to yourself before sending the full set. The test reveals how the envelope travels, whether the ink smears, and how the label looks after postal handling.
Wedding return-address proofing checklist
- Correct host or couple names
- Reliable return location
- Consistent abbreviation style
- Readable type at actual size
- Separate RSVP destination if needed
- One mailed test before the full batch
Create one complete sample before the full mailing
Assemble one finished piece with the card, envelope, wedding invitation return address format, inserts, seal, and postage. Looking at the complete mailing reveals proportion and contrast problems that are easy to miss when each element is reviewed separately. It also shows whether the envelope closes securely and whether the finished weight changes the postage requirement.
Ask someone who was not involved in the design to read the names, address, date, and response details. Fresh eyes catch transposed numbers, unclear abbreviations, and decorative type that the creator has learned to recognize. Make corrections before applying labels or stamps to the entire quantity.
Keep the approved sample with the mailing list until the project is complete. It becomes the reference for helpers and provides a quick way to confirm that late additions match the original batch.
Common mistakes to avoid
- Approving only an enlarged on-screen proof
- Forgetting to weigh a fully assembled envelope
- Using pale ink on a colored envelope
- Ordering the exact guest count with no extras
- Waiting until the mailing week to confirm addresses
A careful proof and a small real-world test prevent most of these problems. Make the design attractive, but let accuracy, readability, and ease of use guide the final decision.
Frequently asked questions
Does a wedding return address need names?
No. A complete postal address is the essential information. Names are a style and etiquette choice.
Can the return address go on the back flap?
Yes, many invitation suites use the back flap. Send a test piece and confirm that the placement and print method work with your envelope.
Whose address goes on the RSVP envelope?
Use the address of the person collecting and recording responses, which may be different from the sender of the invitation.
Should wedding address labels use abbreviations?
Traditional wording may spell out terms, while modern designs often use postal abbreviations. Consistency and readability matter most.
Build a stationery system that fits real life
The best personalized paper goods are the ones you reach for often. Choose clear, accurate designs, store them where correspondence happens, and reorder before a holiday or event creates a rush. Explore personalized address labels, rubber stamps, and greeting cards to create a practical set for home, celebrations, or business mail.