
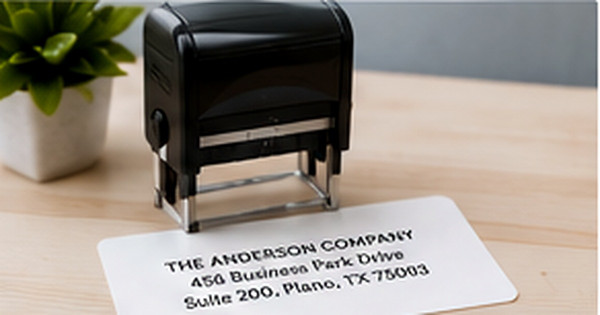
Address Stamp Troubleshooting: Fix Faint, Uneven, or Smudged Impressions
Posted by Affordable Address Labels on May 28th 2019
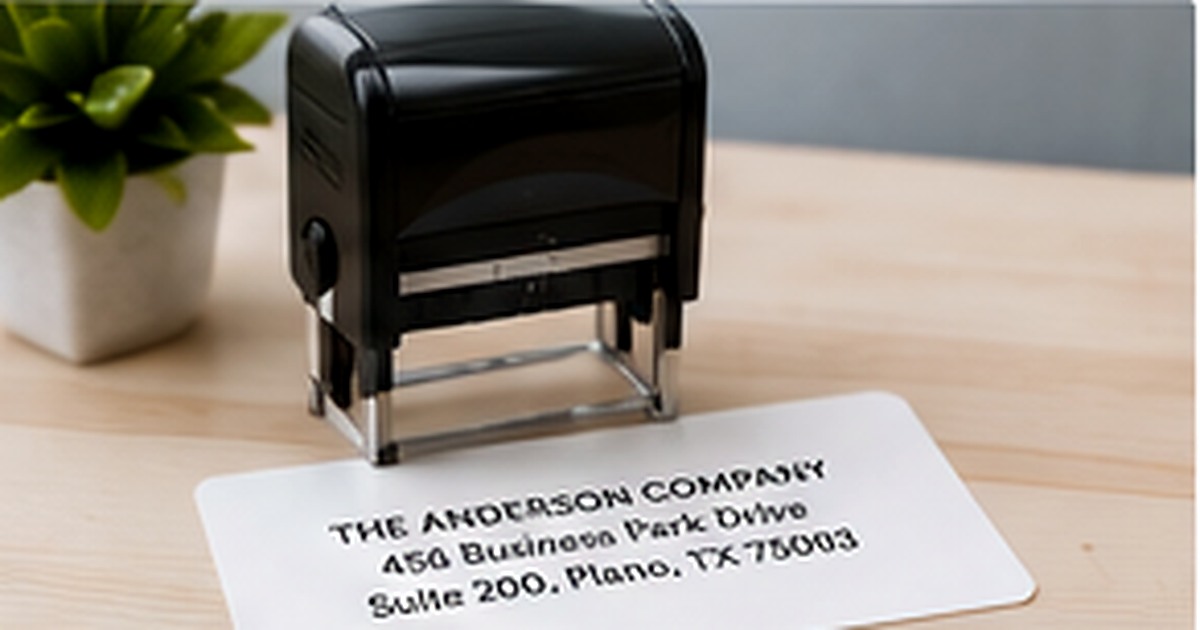
A good address stamp should produce a clean impression with very little effort. When the result becomes faint, uneven, or smudged, the cause is usually a manageable issue involving ink, pressure, paper, or buildup on the stamp surface.
Testing one variable at a time is faster than pressing harder or repeatedly re-stamping the same envelope. A few careful checks can restore a dependable impression and prevent ruined stationery.
Start with a clean test on plain paper
Use ordinary uncoated white paper and make several impressions without changing your normal motion. This creates a baseline. If every impression is faint, the pad may be dry. If one side is consistently light, the stamp may be landing at an angle or the surface beneath the paper may be uneven. If the test is clean but envelopes smear, the paper finish is likely contributing to the problem.
Correct faint or incomplete impressions
Check whether the ink pad needs replacement or the correct refill ink. Use only ink intended for the stamp model; too much or incompatible ink can damage the pad and create later smearing. Make sure the stamp rests fully on a flat surface and press straight down with even pressure. Extremely textured paper may never produce the same crispness as smooth uncoated stock, so test the real envelope before a large mailing.
Reduce smudging and over-inking
A wet-looking impression often means the pad was recently over-inked or the paper is coated and slow to absorb ink. Make several test impressions to remove excess ink, then allow additional drying time. Do not stack freshly stamped envelopes immediately. If the design has very fine details, excess ink can fill small spaces; gentle blotting through repeated test impressions is safer than wiping the rubber surface aggressively.
Fix uneven edges and distorted text
Uneven results can come from rocking the stamp, pressing on a soft surface, or using an envelope with bulky contents underneath. Stamp empty envelopes on a firm, level desk before inserting cards. Keep the motion straight and brief. If the same section remains missing after careful tests, inspect the die for debris or damage and follow the maker’s cleaning instructions.
Store the stamp to protect the pad
Keep the stamp closed or locked in its normal resting position, away from heat and direct sunlight. Dust and temperature extremes shorten ink life. If the stamp is used only seasonally, test it before the mailing project begins so there is time to replace a pad or reorder. Simple storage habits protect both the mechanism and the impression quality.
A step-by-step diagnostic sequence
When a stamp fails, first make three impressions on plain paper. Next, rotate the paper and repeat to rule out a soft desk surface. Then inspect whether the light area stays in the same part of the stamp. If it does, check the pad and die; if it moves, examine pressure and motion. Only after those tests should you add ink or replace a component. This sequence prevents over-inking a stamp that was simply being rocked during use.
Common troubleshooting mistakes
Pressing repeatedly on the same envelope usually creates a dark blur rather than a clean correction. Adding random craft ink can damage a self-inking pad, and washing the die with harsh cleaner may affect the material. Do not judge the stamp only on glossy or textured paper. A plain-paper control test is essential because it shows whether the issue belongs to the stamp or the surface.
Do one real-world review before finalizing
Before committing to the final approach, create one complete sample using the actual materials, names, address details, containers, or stationery involved in address stamp troubleshooting. View it in normal light, handle it the way a recipient or household member would, and ask another person what they notice first. This last review catches small problems with scale, wording, placement, and usability. Record the approved choices so a future reorder or update begins from a tested version rather than an old draft or memory.
Quick checklist
- Test on plain uncoated paper first
- Use only the correct refill ink
- Stamp empty envelopes on a firm surface
- Store away from heat and sunlight
Frequently asked questions
Should I press harder when a stamp looks faint?
Not necessarily. Excess pressure can distort the image. Check pad condition, surface level, and paper type before increasing force.
Can I clean a stamp with household cleaner?
Avoid unapproved cleaners. Follow the stamp maker’s instructions because harsh solvents can damage the rubber or photopolymer die.
Why does the stamp work on paper but smear on an envelope?
Coated, glossy, or highly smooth envelopes may absorb ink slowly. Allow more drying time or choose a more compatible surface.
Put the plan into practice
A thoughtful system is easier to use when the design and supplies support the real task. Explore address stamps to create coordinated pieces that remain clear, practical, and personal.